CGDI MB add new Mercedes Benz Key Steps
Detail steps about how to use CGDI MB add new Mercedes Benz Key:
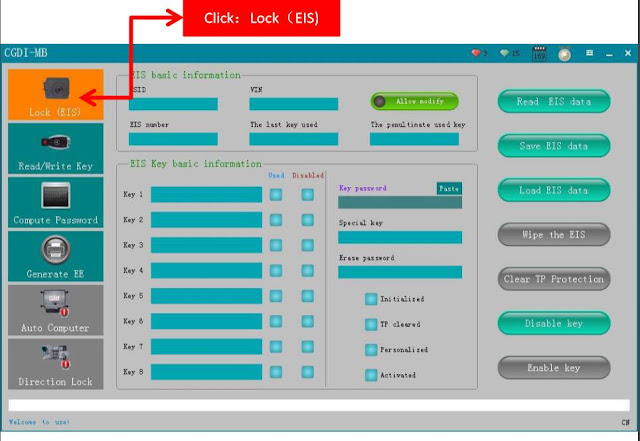
Step 1: Click on "Lock (EIS)
Step 2: Click on "Read EIS data"
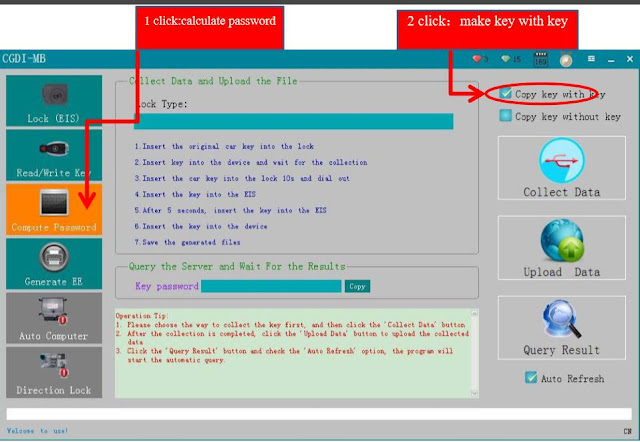
Step 3: Click on "Calculate Password", then "Copy key with key"
Step 4: Click on "Other Keys" (One generation of key 705E6 key), then "OK".
Step 5: Please insert the key into EIS and click OK.
Step 6: Please insert the key into the device and click on OK!
Step 7: Collecting the data, do not remove the key.
Step 8: Please insert the key into EIS and click OK.
Step 9: Please wait for 7 seconds.
Step 10: Please pull out the key from the EIS, and then click OK!
Step 11: Please insert the key into the EIS again and click OK!
Step 12: Unplug the key for 5 seconds, then insert the EIS, then click OK!
Step 13: Save the generated files.
Step 14: Please insert the key into the device again and click OK
Step 15: Please save the data in new name.
Step 16: Click on "Upload Data"
Step 17: Click on "Open"
Step 18: Upload data successfully, please click the "Query Results" button to query.
Step 19: Click on "Query result"
Step 20: Display Query time.
Step 21: Query end.
Step 22: click on "Copy" then "Lock (EIS)
Step 23: click on "Paste".
Step 24: Check password if correct or not, then click on "Save EIS data".
Step 25: click on "Save".
Step 26: click on "Confirm", then "Generate EE"
Step 27: Load EIS data.
Step 28: Click on "Open"
Step 29: generate key file.
Step 30: Click on "Save"
Step 31:Click on "Read/write key", then "Confirm".
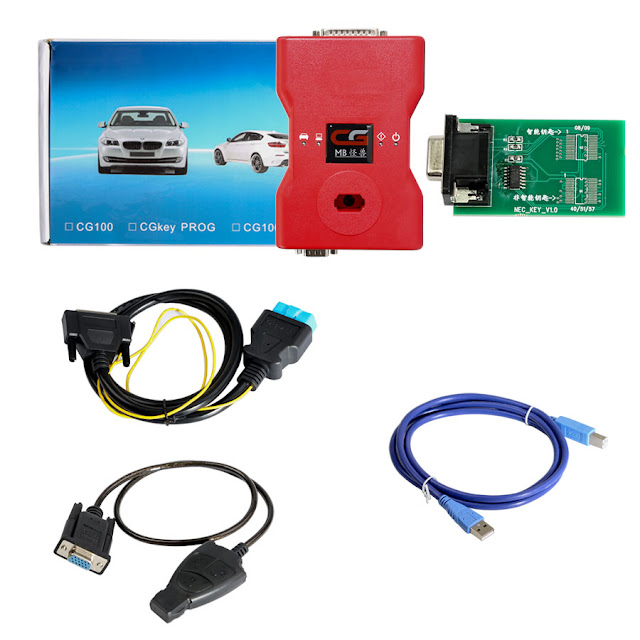
Step 32: Write BE key click on "IR (IR is the key hole on the CGDI MB pro). NEC adapter: use for writing original key including smart key
(How to: remove the chip to weld)
Step 33: Click on "Read key / chip", then "Open/write"
Step 34: Select chip type.
Step 35: Note: Smart key please choose 41 format, common key and BE key please choose 51 format!
Step 36: Select the location of writing key, then click on "Open".
Step 37: Write key success!
Step 38: Password display area, write down the password manually.
BE key read password directly, no need to collect data!
The complete step pictures please check: CGDI Prog MB user manual


Comments
Post a Comment